To create a message, select Notification → Message. This will display the list of messages:
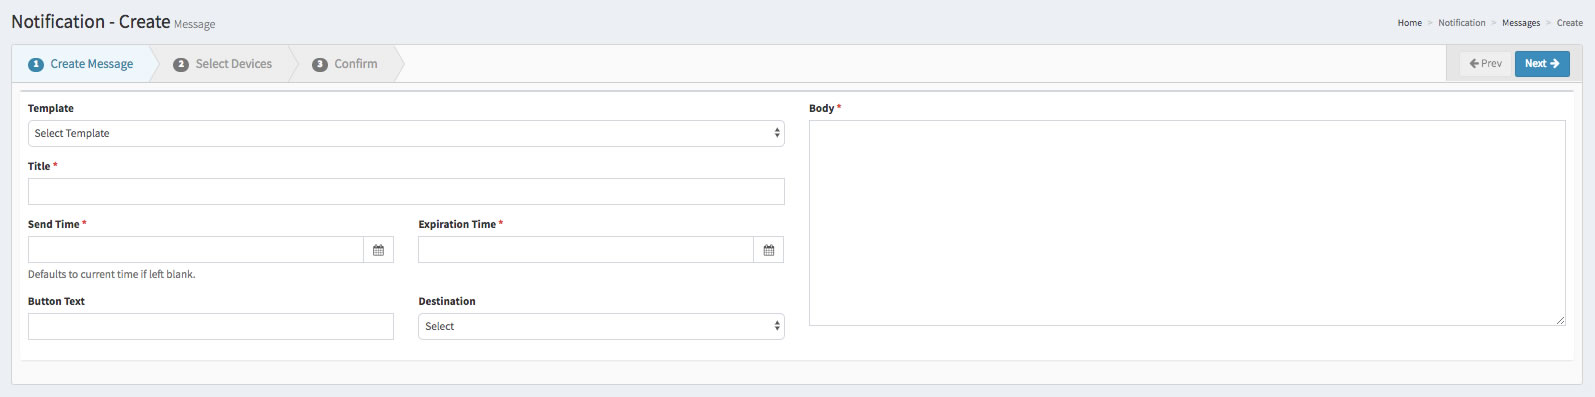
Click the + near the upper right-hand corner of the page to create a new message. The Create Message tab of the new message process will appear:
Enter the following information:
Template: If you want to use a pre-defined template for the message, select one from this list. If you want to create a message that isn't based on a template, do not select a template (that is, leave the selection as Select Template.)
Note that if you use a pre-defined template, the Title, Button Text, and Destination fields will be filled with the values for the template, and you will not be able to edit them.
Title: The title of the message. If you did not select a template for this message, you must provide a title.
Send Time: The date and time when the message should be sent. If you leave this field blank, this time will be set to the time when the message is created. This should not be earlier than the current date and time.
Expiration Time: The date and time when the message should expire. This should not be earlier than the date and time in Send Time.
Button Text: The text for the button that message viewers will click in response to the message. If you did not select a template for this message, you must provide text for the button.
Destination: The web page where message viewers who click the button will be sent. If you did not select a template for this message, you must select a destination.
Body: The body of the message.
Click the Next button to proceed to the next step. The Select Devices tab of the new message process will appear:
Use the checkboxes on the left side of the list to select devices to which the message will be sent:
To select individual devices, use the checkboxes on the left side of every device on the list to select individual devices.
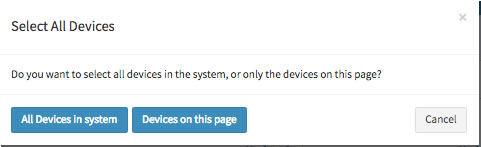
To select all the devices on the page or all the devices in the list, use the “select all” checkbox in the upper left-hand corner of the list. This pop-up will appear:
To select all the devices in the list (even the ones that don't appear in the current page), click the All devices in system button.
To select all the devices on the current page, click the Devices on this page button.
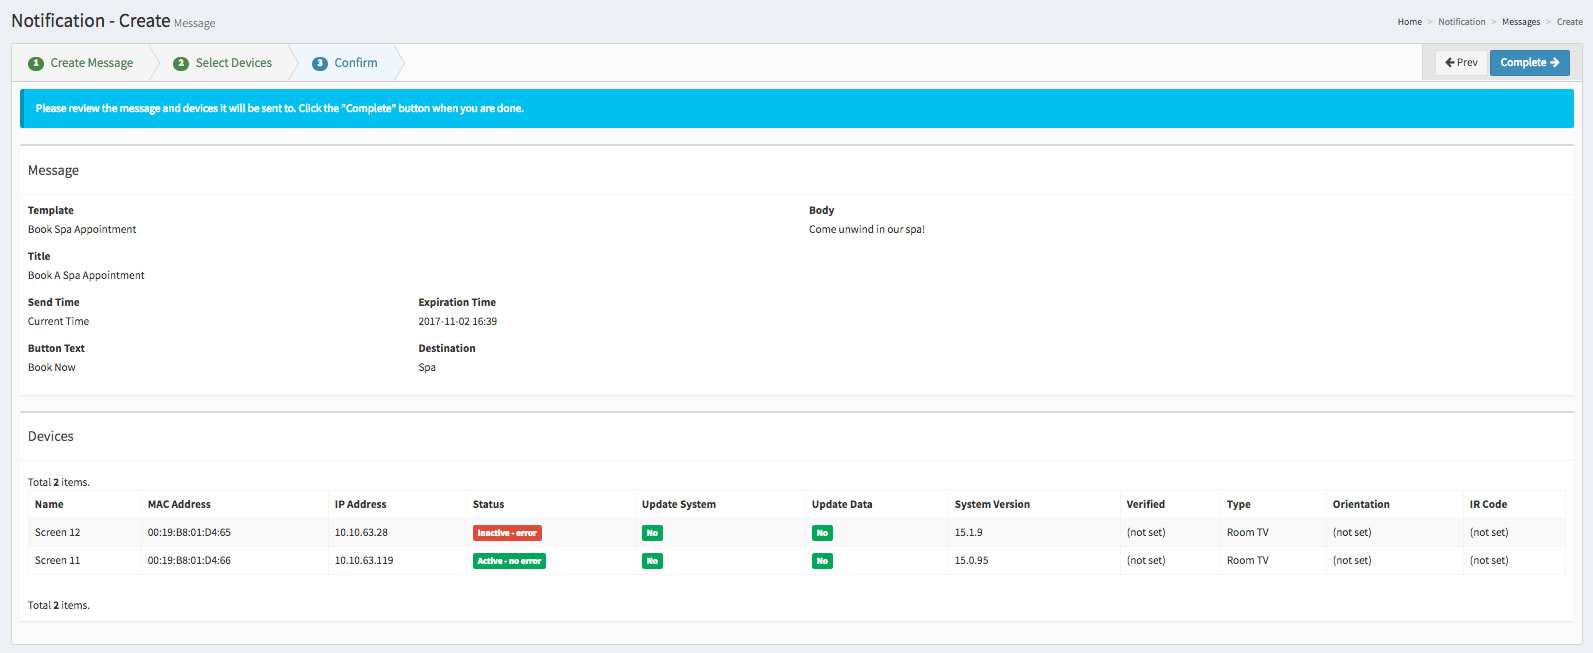
Click the Next button to proceed to the next step. The Confirm tab of the new message process will appear:
Review the information on the page. To confirm that the message should be created, click the Complete button.